Riello gas burner installation comes down to four jobs done in the right order: mounting the burner airtight on the boiler, setting the combustion head, connecting a correct gas train and wiring the burner exactly as Riello’s diagram shows. After that, a qualified technician commissions it with a combustion analyser. Riello’s manuals are clear that installation, wiring and first start-up must be done by qualified personnel, so this guide helps plant owners and purchase managers know what a good job looks like.
What should you check before a Riello gas burner installation?
Most installation problems start before anyone picks up a spanner. So check these points first:
- Burner size: the burner’s output range must cover your boiler or oven’s heat input. For example, Riello lists the 40 FS5 at 23–58 kW. Our kW sizing guide shows how to work this out from the rating plate.
- Gas type: the 40 FS burners are set up for natural gas (PNG). Riello’s manual says a separate kit is needed for LPG.
- Gas pressure: for the 40 FS5 on natural gas, Riello gives a supply pressure range of 16 to 200 mbar. Ask your gas supplier or technician to confirm what you have at the burner.
- Power supply: the 40 FS5 runs on single-phase 230 V, 50 Hz.
- Space and ventilation: leave room to open the burner for service, and make sure the boiler room has enough fresh air for combustion.
How is the burner mounted on the boiler?
The 40 FS burners fix to the boiler front plate through a flange with an insulating gasket supplied with the burner. Riello’s instruction is short but important: the seal between burner and boiler must be airtight.
An air leak at the flange lets hot flue gas escape, and it can also upset combustion. Therefore, the installer should:
- Check that the boiler plate opening and fixing holes match the burner flange.
- Fit the supplied gasket and tighten the flange evenly.
- Make sure the blast tube enters the combustion chamber as the boiler maker requires.
- Check that refractory or insulation around the tube is in good condition.
Why does the combustion head setting matter?
On the 40 FS series, the combustion head is set according to the burner’s output. The installer loosens a screw, moves the adjusting elbow until the rear plate lines up with the set point read from the chart in the manual, and tightens it again. Riello’s own example is a burner fitted to a 40 kW boiler.
In other words, the same burner is set differently on a small boiler and on a larger one. A head left at the factory position, or set by guesswork, often causes a noisy, unstable or sooty flame. As a result, this is one of the first things to check when a newly installed burner does not run cleanly.
Gas train and gas piping: what does a correct Riello gas burner installation need?
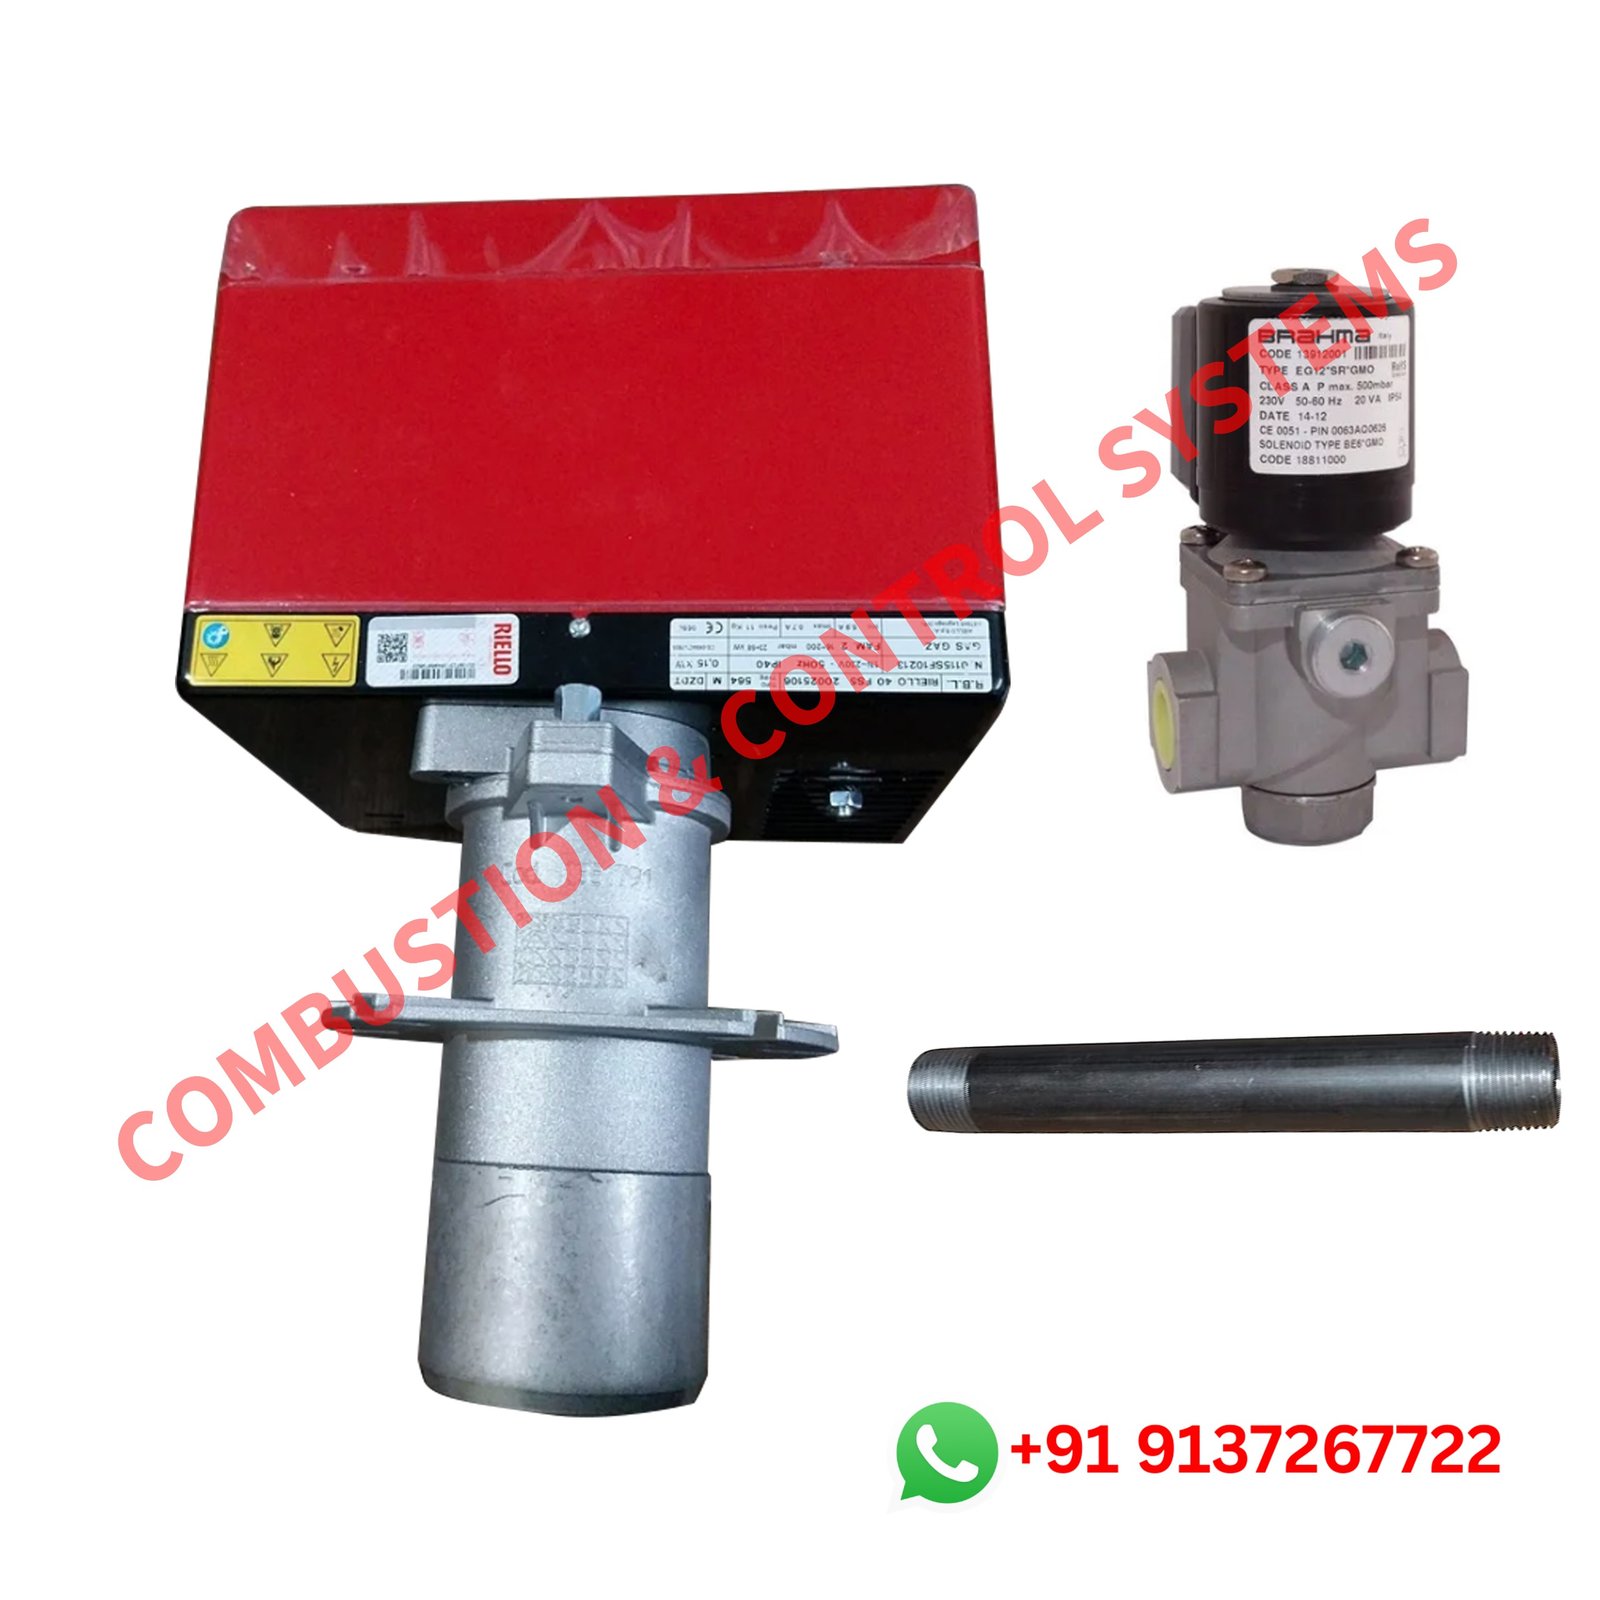
Riello supplies the gas train separately from the burner and states that it must comply with EN 676, the European standard for gas burners. A typical train includes a manual cock, filter, gas pressure switch, pressure regulator and solenoid valves. For example, many of our 40 FS burners use the Brahma EG12 SR GMO valve. Our guide to the Riello gas burner gas train explains each part in detail.
During a Riello gas burner installation, the installer should also:
- Fit a manual shut-off cock and a pressure gauge before the train, as Riello’s manual shows.
- Size the gas pipe so pressure does not fall too much when the burner fires.
- Support the train properly so its weight does not hang on the burner.
- Test every joint for leaks with leak-detection spray, never with a flame.
- Keep the line away from knocks, sparks and heat sources, as Riello advises.
What are the wiring rules for a Riello gas burner?
Riello states that electrical wiring is the installer’s responsibility and must follow local regulations. The key points from the 40 FS manuals are:
| Wiring point | What Riello’s manual says |
|---|---|
| Supply | Single phase, 230 V, 50 Hz (40 FS5) |
| Wire size | Cross section of at least 1 mm², unless local standards ask for more |
| Phase and neutral | Do not swap them; follow the wiring diagram carefully |
| Earthing | Make a good earth connection |
| Changes | Riello accepts no responsibility for connections other than those shown in its diagrams |
Phase and neutral matter more than many people expect. The burner proves its flame through an ionisation probe, and a wrong polarity or poor earth can stop the control box from seeing the flame. The burner then locks out even though the flame was lit. If that happens, our guide to Riello burner lockout causes and fixes covers this and other common faults.
How is a Riello gas burner commissioned?
Commissioning means the first start-up and setting of combustion. Riello says it must be carried out by qualified personnel. Based on the start-up section of the 40 FS manuals, a technician typically:
- Checks the air damper setting against the manual.
- Opens the manual gas valves slowly, upstream of the gas train.
- Purges air from the gas line. Riello recommends a plastic tube routed outside the building, purging until gas is smelt.
- Sets the gas train for a safe light-off, with gas delivery at the minimum for ignition.
- Adjusts combustion with an analyser. In line with EN 676, Riello gives air excess limits of 1.2 at maximum output and 1.3 at minimum output.
- Tests the safety devices, including the air pressure switch, gas pressure switch and flame monitoring.
Finally, ask for the combustion readings in writing. They become the baseline for every later service, as our Riello gas burner maintenance checklist explains.
Buy a Riello gas burner in Mumbai
Riello industrial oil and gas burners (Combustion & Control Systems) has been in burners and combustion systems since 1996. We supply Riello gas burners such as the Riello 40 FS10 and FS20 with Brahma EG12 SR GMO valve, along with gas train parts including Brahma and Elektrogas solenoid valves, Dungs multiblocs and pressure switches, and Vanaz gas pressure regulators.
Address: Gala No. 204, B Block, Prime Trade Center, Waliv Phata, Sativali Road, Vasai (E) – 401208, Maharashtra (Mumbai region).
Share your boiler or oven rating plate, your gas type (PNG or LPG) and your supply pressure, and we will help you pick the right burner and gas train before installation. Ask for a Riello gas burner price on WhatsApp.
Frequently asked questions
Can our own electrician install a Riello gas burner?
Riello’s manuals say installation, wiring and first start-up must be done by qualified personnel, in line with local rules. Gas piping and combustion setting need someone trained in gas burners and equipped with an analyser.
Is the gas train included with the burner?
Riello describes the gas train as supplied separately. When you compare quotes, check whether the train is included.
Why does a new burner lock out right after installation?
Common reasons are air still in the gas line, low gas pressure, phase and neutral swapped, or a poor earth. Each of these should be checked before any part is replaced.
Do I need a different setup for LPG?
Yes. Riello’s 40 FS manual says a separate kit is needed for LPG, and the gas train and pressures must suit LPG too.
What paperwork should I get after a Riello gas burner installation?
Ask for the combustion readings, gas pressures and the head setting used. These figures make every later service faster and more accurate.